Saturday 31 January 2015

Week 06_ Progress

This week was a really busy one. After 2 mostly holiday weeks, lots of works needs to be done. We were quite behind schedule at that point. The plan was to complete and finalized all characters as soon as possible. Next, I have to light and complete renders for the whole of phase_01, which include 3 separate shots, by end of this week.

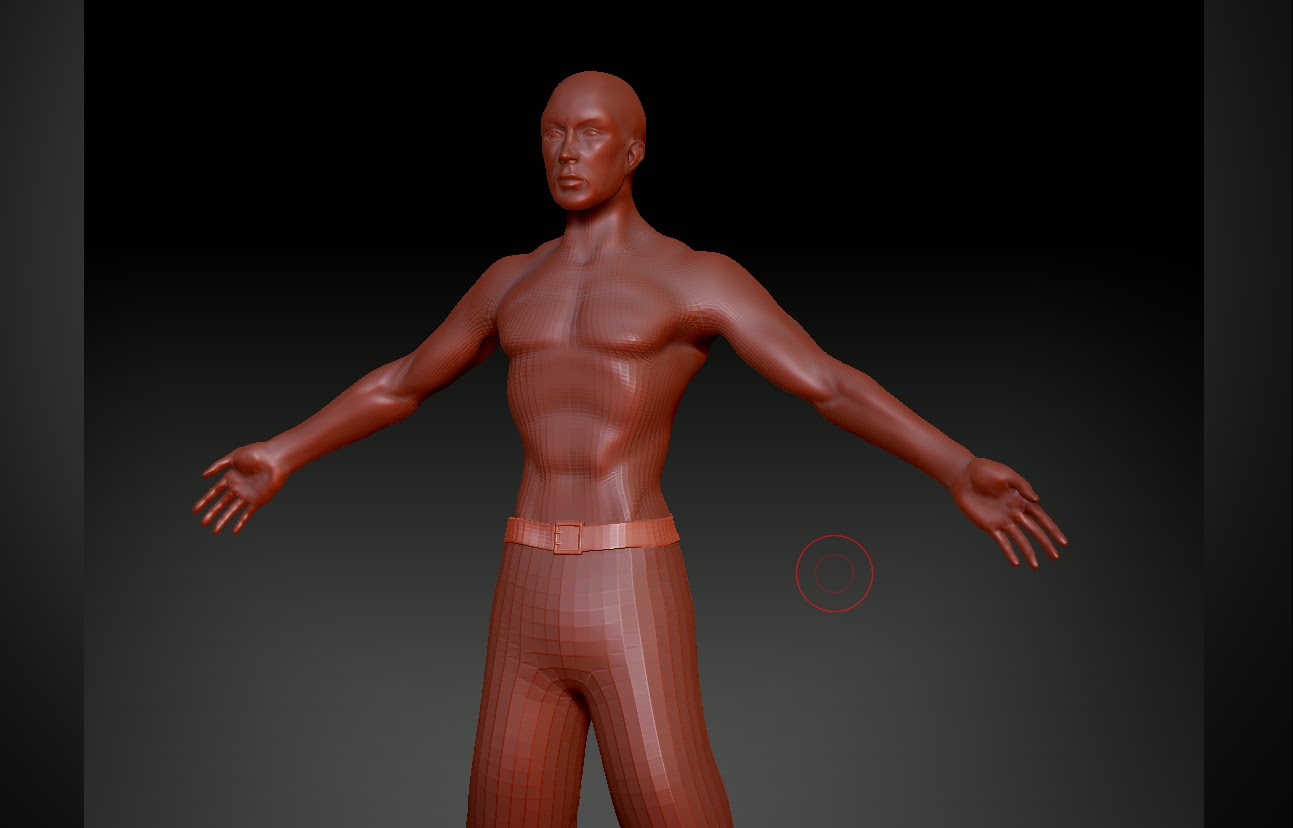
I begin the work by start on the sculpting of the Punjabi. This was suppose to be done by one of our team member. Due to some issue with previous model attempts, I end up to create the final version of the Punjabi. This is what it looks like when my team member pass it to me.


Here is the Punjabi used for the soldier in the end. It when through multiple adjustment and retopologise process to finally create a acceptable and usable piece.


With the Punjabi ready, all parts of the Punjabi soldier model is in place. Rigging process could begin. Importing all pieces in Maya, and export as OBJ as a whole for uploading to Mixamo for basic rigging.


As usual, after the Mixamo rigging, further weight painting is required. Making sure the rig have no major skinning issues. The Punjabi soldier character is completed at this point.


Next, as mention in the previous blog, we have given the Japanese solider the wrong helmet. Hence, re-modelling of a historically accurate helmet is required. I have modelled the basic form of the helmet before importing it in Zbrush. Further positioning and shaping is needed in order to fit the soldier's head.


Since, all previous helmets needed to be replaced by the new one. I have to re-rig the character, in order to replace the previous Japanese soldier model reference. Once again, I assemble all parts in Maya, exporting as OBJ file.


Fixing weight painting issue is always the process I went through after the Mixamo auto-rig.


The new Japanese soldier character with the right helmet is completed.


At this point, all three soldier character is completed. I began to work on the lighting as the scenes are still setting up, testing and trying different lighting looks. There some basic information given by lectures. For instance, the silhouette rim light is a must for all character lighting. Also, the general lighting color should be warm colors such as red or orange tone.


The beginning trench shot (shot 01) is the very first lighting scene I have worked on. The lighting for this shot is quite simple as the camera are moving and facing the same general direction. 


That means the lighting only needs to come from one direction. One lighting direction against the camera facing would be enough to create the rim light required.


Shot 02 is the same continuous scene right after shot 01. Due to file size and hardware limitation, splitting the scene into multiple shots and rendering separately is necessary. 


Shot 02 is also much more complicated camera movement compare to shot 01, this lead to a more complex lighting processes. 


Light linking needs to be introduced in order to achieve the rim lighting requirement. Since, every soldier character is at different location spreading around the terrain. Light linking of various different terrain and surrounding objects is also crucial in the process.


Here are some test render I have at that point.


Different lighting needs to be added on different soldiers as the camera changes directions. Light needs to shine from opposite direction as the camera is facing in order to create the rim light.


The Malay regiment leading character, Adnan, is the connection between shot 02 and shot 03. Again, light linking is also important in this shot, as there are 3 different parts within the scene. 


First, there are the character Adnan, then follow by the bombs and planes. 


Lastly, there are the terrain with Japanese soldier disguising themselves using Punjabi, and camera leading to the hero tree. 


Tuesday 13 January 2015

Week 05_ Progress

Week 5 also happens to lay on public holidays, the New Year celebration. Same as last week, only 2 and half week of  working time. The main objective for the week is to complete the Japanese soldier model asset, and best to start on Punjabi soldier creation.

I did some further changers to the Japanese soldier's body to create a slimmer overall body shape, after realising he is still too fit and thick for a world war 2 Japanese soldier. Minor adjustments have been done on the facial feature as well. 


For the cloth creation, I start with the pants retopology using the same technic as past few weeks. With a existing downloaded model as a base, using Maya's retopology tool set to create meshes with clear and usable topology.


The creation of the Japanese solder's shirt when through the same process of retopologising, however the shirt is much more complex and complicated to retopo. Its easy to say after I have finish it, but the process is really tedious.


After both main part of the costume have been retopologised, its time to move on and proceed the rest of the model in Zbrush. The shirt does fit the Japanese soldier body when its first imported in Zbrush, quite some shaping on the shirt is required in order to achieve that. Of course, other details are added as well with a higher subdivision.


Next step is to import in the belt, which is the same exact model as the Malay soldier. However, during the shaping process I did change certain minor feature of the belt along the way. 


The Japanese soldier model only reveals it pants, legs will not be seen, hence it's not necessary to keep them. I imported in the pants model and did some further shaping to match and be proportionate to it's upper body. It's easier for me to work on the pants by hiding the Japanese soldier's for a moment.


With all parts of the clothes done for the Japanese soldier, I bring back its body, add in and shape the helmet accordingly. However, later I realised this helmet  isn't historically accurate for Japanese troops. Thus, for the moment, it is just a place holder helmet from the Malay soldier.


When through the same process as before, exporting all individual pieces from Zbrush as OBJs and import back in Maya for assemble. Cleaning up and deleting of hidden and unnecessary polygons is done to ensure a small file size. Then, it was been exported again as a whole to .obj file and uploaded to Mixamo to help me on the rigging process.


After its done rigging in Mixamo, I import the .fbx file in Maya. As expected further weight painting is needed. Making sure there isn't any obvious issue with the rig and skinning.


At this stage, the Japanese soldier and its rig is completed. However, the helmet needs to be changed next week.


Get stated on the Punjabi Japanese soldier is a lot simpler, as I could quickly get the body shape and cloth asset using the Japanese solider as a base.


By changing some feature for the body, re-shaping of the pants and belt to fit the new body, the base model for the Punjabi is done. The only lacking model asset is the punjabi itself, which supposedly would be provide by my team members. The Punjabi soldier will be fully completed next week.

Sunday 4 January 2015

Week 04_ Progress


This week, technically be have only two and half day of working period, due to Christmas. However I will still be back on Friday to speed up the work. The basic task for me to complete is to finish up the Malay regiment soldier, and start progress on the cloth creation for the Japanese soldier.   

After some trial and error, I was able to solve the last week's problem, translate distortion issue of the boots model while imported in Zbrush. With that solved, position and shaping the boots to fit the soldier's foot is a lot easier.


Considering the high poly count on the boots, I tried the retopo it in Zbrush. However, the OBJ file of the retopologised boots are always corrupted. So, I still end up using the high poly boots.


The boots are the last piece of puzzle for the Malay regiment soldier model. At this stage the model is more of less completed.


I proceed by doing some adjustment and cleaning up to certain parts of the clothing. Retopogise parts as mush as I can while maintaining the maximum details.  


Next, I begin to create the UVs for all parts of the model. The Zbrush build in UV unfold plugin make this really straightforward.


After some testing, the models are still to high poly, file size has to stay under 30MB for uploading to Mixamo. I figure that I could drop the subdivision of certain parts of the clothes further, and make use of the displacement and normal map to bring back the details.  


The displacement and normal map has been exported and reapplied in Zbrush.


I have exported all parts of the Malay soldier in individual OBJ file. In this manner, it will be more convenient for changing individual parts after adjustment, which I did multiple times later.


Here is the complete Malay soldier model after importing and piecing all parts together.


In order to further reduce the poly count of the Malay soldier model, I have to delete hidden and unnecessary surfaces. This greatly reduce the file size.


In the beginning, due to the upload file size constraint, I wasn't really too insisting on using Mixamo to kick start the rigging. With the help from our lecture, Mr Leong, I have try using a existing character rig  provided to bind with the Malay soldier model. 


Half way into the skinning process, many issue and problem emerge. I realise weight painting a full character from scratch will be way to time consuming than expected. Not to mention I have 3 character in total to be rigged. Hence, I still decide to use Mixamo to speed up the working progress. This is why I am so concern about the poly count and file size in this report as mention earlier. 


The Mixamo auto-rig is a great way to help me started on the rigging and skinning process. However, it isn't all perfect, many adjustment in weight-painting needs to be made.


Further testing have been done to make sure there isn't any really obvious issue with the skinning.


The working process to the character creation have lots of back and forth, trial and error along the way. Nevertheless, the Malay regiment soldier with rigging is finally completed.