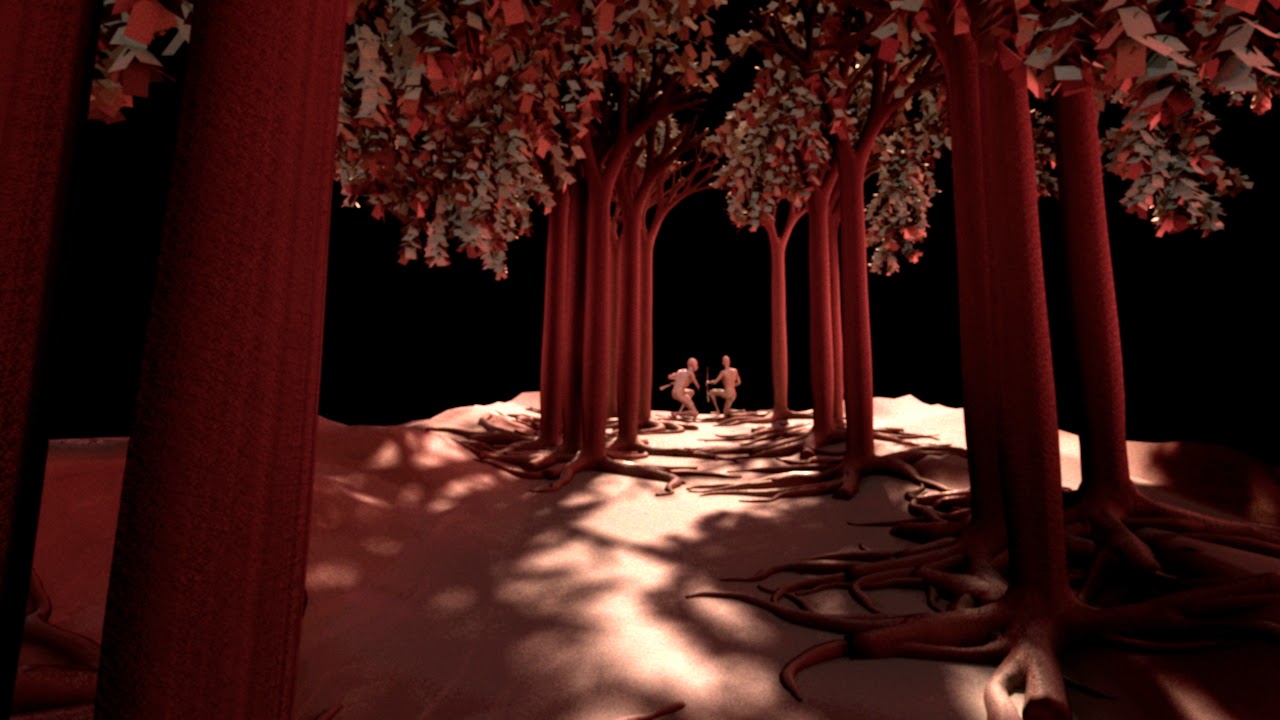
With the rough assets of scene 01 prepared, I began my test lighting for the scene. Following the image references provide by the motion graphic students, I depicted a rough idea of the mood expected in the lighting. Overall color tone for lighting should be orange and red. However, I did add in a minute fill of blue tint in lighting. This is to fill the environment with slight variation to avoid a over reddish lighting.


Here are some test compositing done by me. Lighting and colors could be enhanced dramatically.
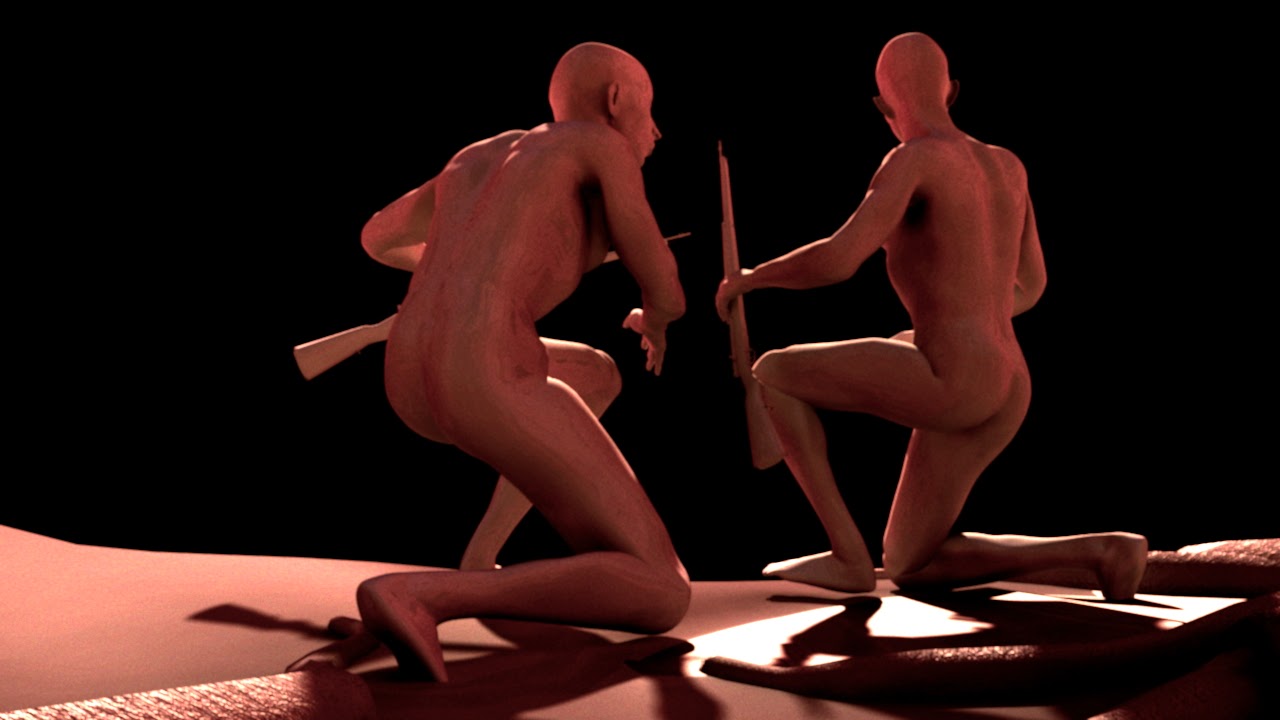
Playing around with various color channels to create the moody feel. The slight bluish tone came in handy, making use of color channels; the blue tone not only break the intense redness, it also increase the depth in the render. However, this is not the final lighting or look for the scene. I have pass these test renders to the motion graphic students. They will then feedback to us about the art directions and further changes in lighting.
As mentioned in previous discussion sessions, the ocean in the 2D map could be moving. Hence, I came about to create the ocean surface first.

The ocean simulation was done using Maya fluids and its ocean shader. The look of the water surface was approved at this stage, and further adjustment might occur.

I have try many approaches on the cloth creation before I found the right method for me. At first, I tried to do it all in Zbrush, by extrude and extract the surfaces from the soldier mesh, and edit the from there. This might work to a curtain extend, but due to lacking of Zbrush skills I failed to sculpt the shirt collar.

So I have looked for other alternative methods. Some did not work well also. I did attempted to model the shirt from scratch in Maya. That didn't work as expected, as I did not acquire enough knowledge in human anatomy and topology modelling skills to do so.
Finally, I have discover the best way for me to model a shirt with proper topology. That is through downloading a existing shirt model, and make use of Maya latest retopology tool set to retopologise it. Reason behind it is because the downloaded model is a unusable broken mesh with messy triangulate topology. Importing that in Zbrush will result to a unworkable mess.

The retopologising process in Maya wasn't as easy as I previously thought. After several fail attempts, I have learn to plan my topology accordingly to the mesh to avoid mistakes such as symmetry of lines.


It's quite tricky to bring and merge to files in Zbrush, took me some time to figure that out. As I'm still really new to the software Zbrush, I have learned a lot of new tools and technics during the working process. The next step will be sculpting details such as line details, buttons and pockets.

Having the character with separated parts, I have also figure out the way to create a clean UV easily.

No comments:
Post a Comment